Friday, October 31, 2014

Witches in the Pumpkin Patch

Immediately, following the end of the Autumn challenge SVG Cuts announced a Halloween challenge.  They had mentioned earlier that they might do one so I had already made a pumpkin in preparation however I had to wait to hear what kits were going to be allowed before proceeding any further than that.

I used Graphic 45 Steampunk Spells.  I just love this collection.  I wanted to carry the theme of the paper in the pumpkin up into the top decoration.

Spooky scene with pumpkin next to headstone

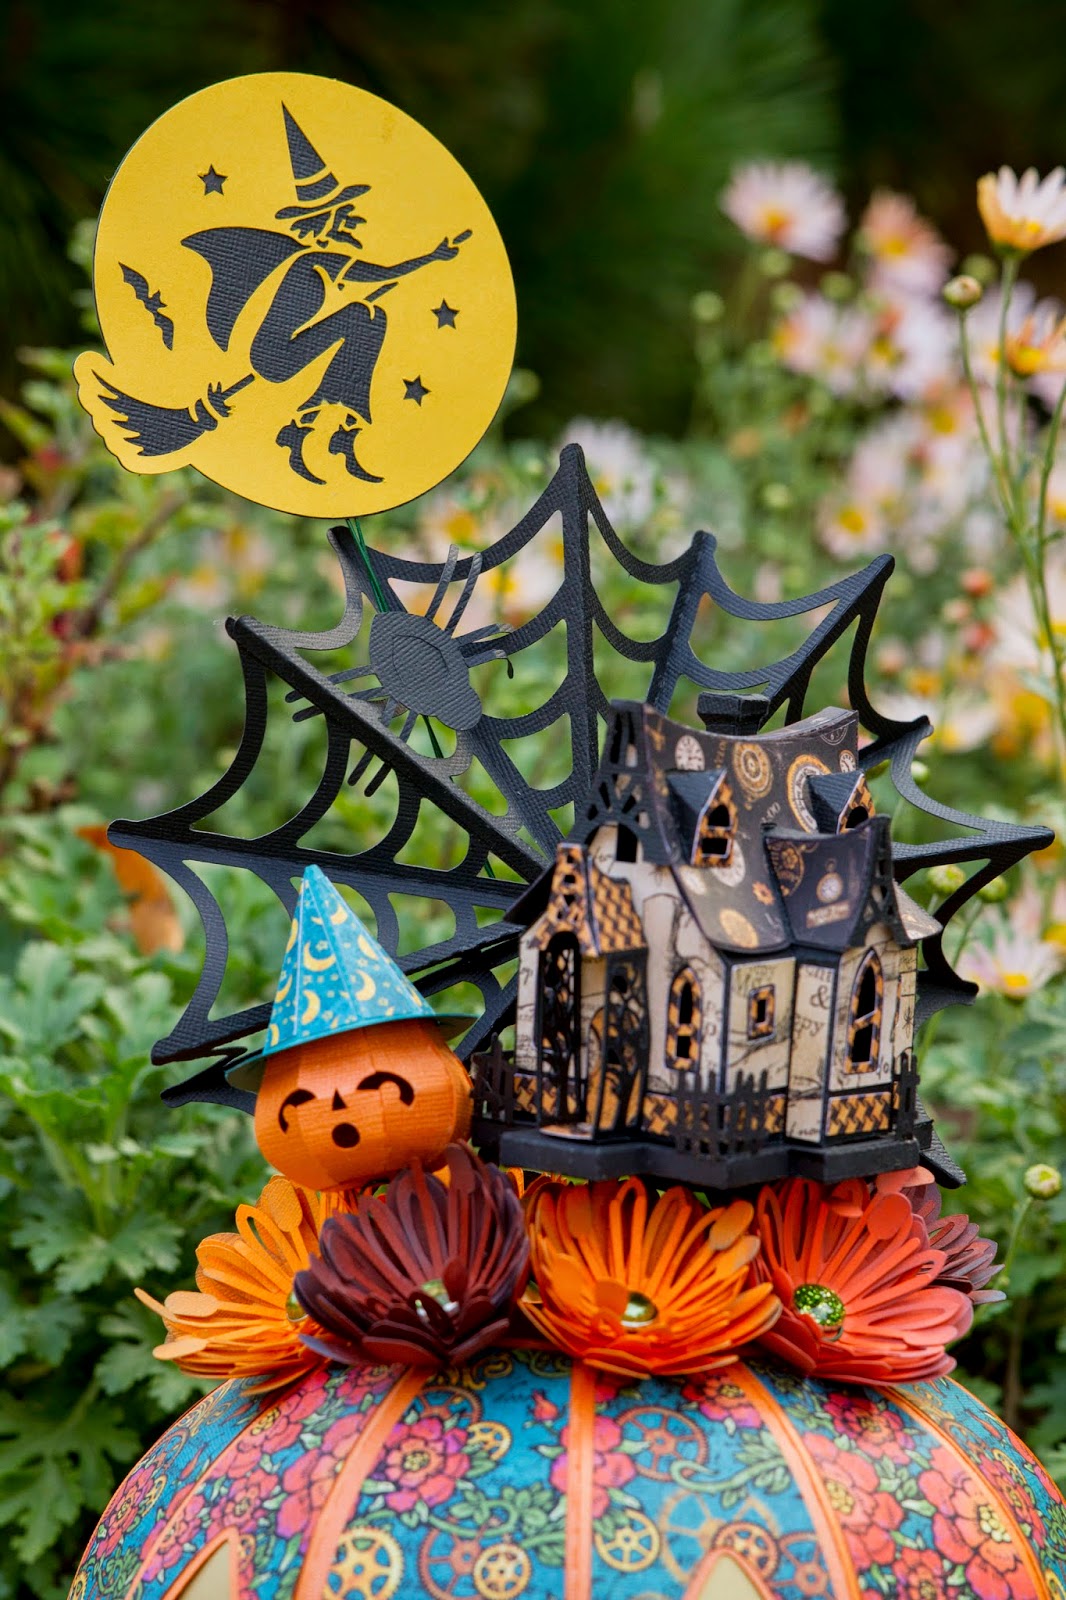
In order to do this I made a bed of flowers as my base.  I have the witch on patrol for the night around her house.  The Big Jack-o-Lantern is from Fright Night, the House, Jack-o-lantern (little) and flowers are from the Haunted Forest kit.  The rosette spiderweb is in the Catacomb Manor kit, the moon is a free file and the spider is from the Spooky Soiree kit.

The house and the jack-o-lantern are scaled down to 35%.  The house is 4 and a half inches tall.

Close up of pumpkin, witches house and spiderweb

I just love the way it all turned out.

Close up of witch house and pumpkin

I think the moon added just the right touch.

SClose up of top of pumpkin showing scene of a small pumpkin, witch house, spiderweb and flowers

I glued a square piece of Styrofoam to the inside of the pumpkin and added floral wire to all the pieces (you can see it a little behind the web, from the moon), and arranged the pieces in the pumpkin.  My biggest obstacle was coming up with something to attach the wire to for the house.  So, I made a trip to Michael's.  The young lady who works there suggested using a button.  What a wonderful idea.  So I wrapped the wire around the button and then hot glued it to the bottom of the house.  This way I can still take it all apart and store it easily.

Another close up of the top of the pumpkin

I hope you enjoyed my Steampunk inspired pumpkin.  Happy Halloween.

Here is a list of the files I used:

Fright Night
Haunted Forest
Catacomb Manor
Spooky Soiree
Free Vintage Witch


Do what inspires you,

Cyndy G

Tuesday, October 28, 2014

Snap Dragon Snippets - Grand Re-Opening


Huge new!  Come join us as we celebrate the Grand Re-opening of snapdragonsnippets.com.

Register on the site for a chance to win a Silhouette Portrait (Winner will be announced on our the Snapdragon Snippets Scrapbooking Facebook Page, Monday Nov 3). Plus everyday we will be giving away a $10 giftcard to the store.  For more chances to win, Share our Facebook Adverstisement or make a purchase form the store (A max of 3 chances to win per person).   See FB page for all the details.

Don't miss out.  Lots of fun to be had.  Meet our 10 great designers and new designs daily.

And if that wasn't enough we are 40% off.  Come and invite your friends. 


Tuesday, October 21, 2014

Halloween Canning Jars ~ with Cyndy G

I can't believe Halloween is just a little more than a week away!  There is still time to get one more Halloween project in.  Today I am sharing the JGW Canning Essentials Kit SDS Spooky Cards and the SDS Skull Medallion.  As soon as I saw the Jars I knew what I wanted to do with them.

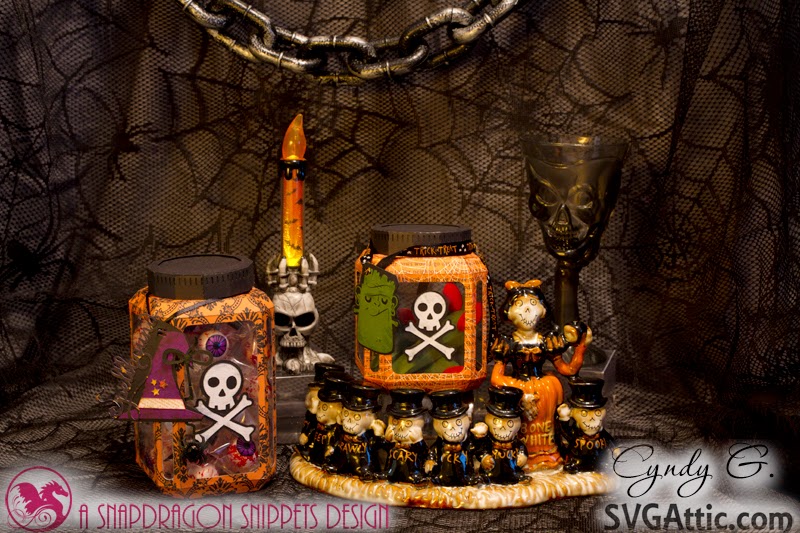
Haunted scene of 3d paper Halloween jars

I love the way they turned out!  I shrunk the cards down to make tags out of them.


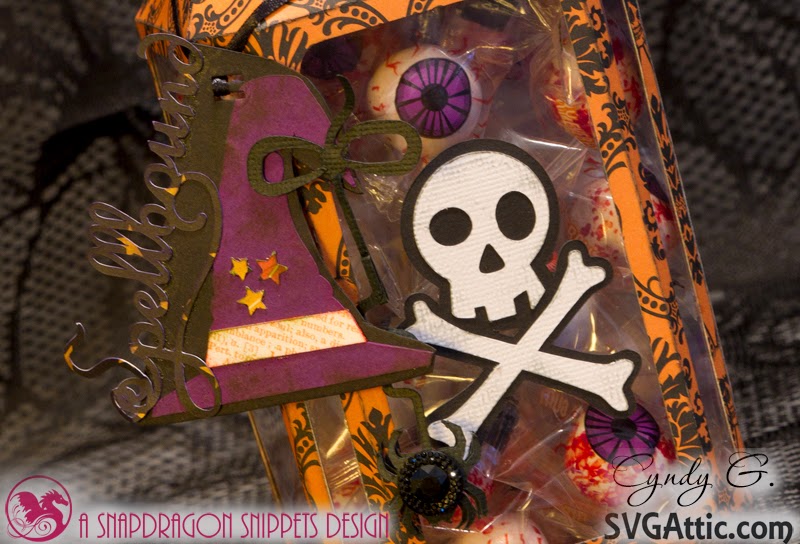
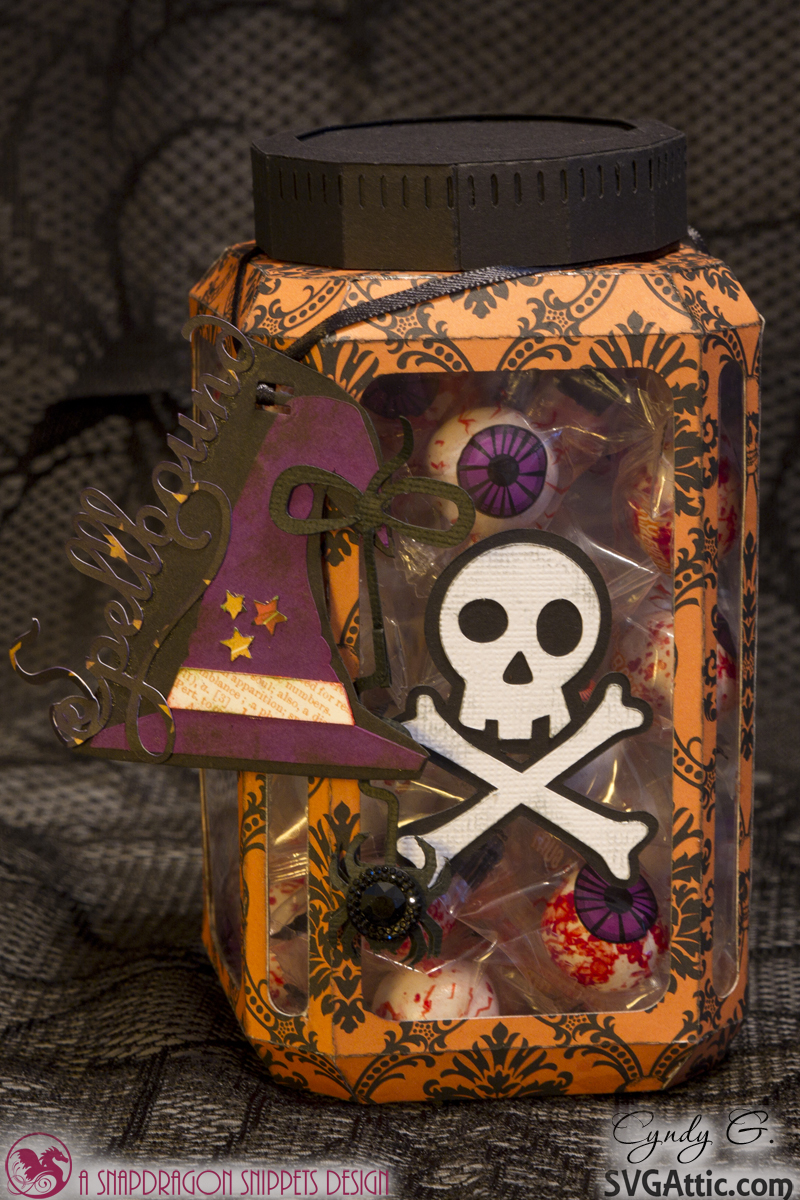
Close up of 3d paper Halloween jar with eyeball gumballs inside

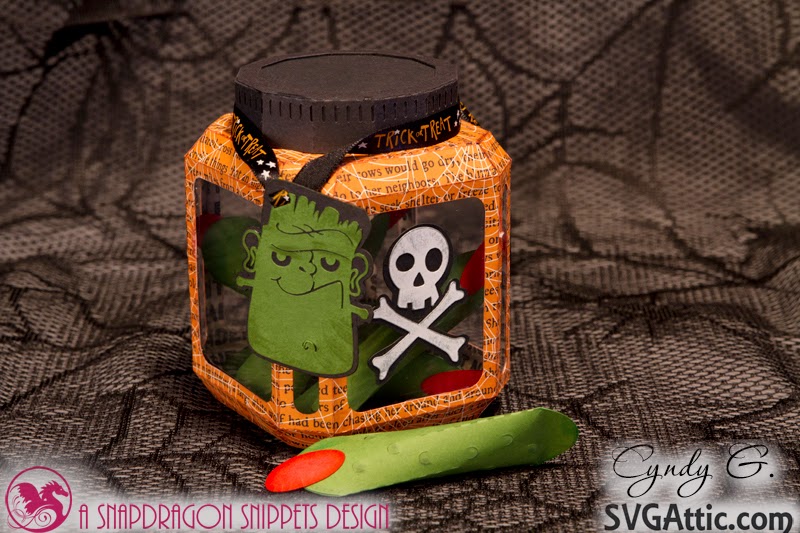
3d Halloween jar with witches fingers inside


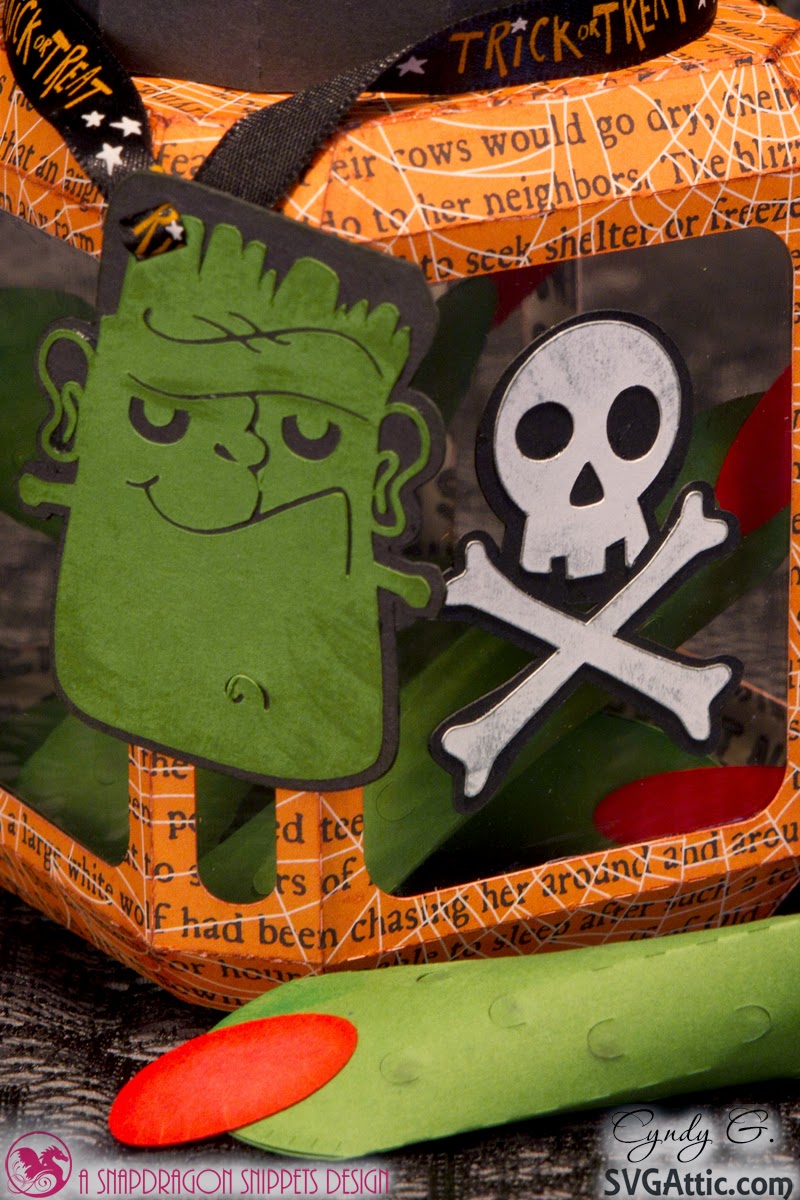
I used the cross bones as my poison symbol on the jars and my favorite touch was adding a red oval to the end of the pickle to make it look like a witch's finger!

Close up of Frankenstein tag on Halloween Jar

My kids loved these jars.  I was informed that they like the big jar best.  When I asked why they said "Because you can eat what's in it."  I should have known that.

Close of witch's hat tag on Halloween jar

I filled the jar with eyeball gum that I found at Michael's.  What a fun project.  I love the versatility these sets have.

What I used to create this project:
JGW Canning Essentials Kit,
SDS Spooky Cards
SDS Skull Medallion.
Simple shapes - Oval
Teresa Collins Haunted Hallows paper
Eyeball gum

Please post pictures on our FB page of the ways you have used this set, I would love to see them!  Until next time.

Do what inspires you,
Cyndy G

Thursday, October 9, 2014

Hello everyone!  My name is Cyndy Gustashaw.  I am new to the SVG Attic I-team.  I hope I am able to inspire you with my personal touches using SVG Attic files and hope you will enjoy using them as much as I do.

I am married to a wonderful man who puts up with my crafts/hobbies and even encourages them.  He hopes that I can find a way to make BIG money so he can retire, lol.  Together we have three beautiful children, in addition to my two girls, that makes five children.  My father-in-law lives with us and my Mom retired when we had our second child and left her home in Southern California to move to North Carolina and be a full-time Grandmother and nanny.  


I have lots of favorite projects.  I put a little piece of me in everything I create so they are all special.  For my introduction I have chosen the JGW Pumpkin Stacker.  I fell in love with it as soon as I saw it and for once I knew exactly what paper I was going to use!

3d paper pumpkin countdown to Halloween

I used Graphic 45, An Eerie Tale for this project.
I absolutely love this paper stack!

Close up of 3d pumpkin


I reduced the size of this project to 75%.  It is still a sizable project the pumpkin stands almost 7" tall and the base is just over 6".  I almost always shrink my projects.  At first it was to conserve paper but everyone in my family loved the smaller sizes so now it is a preference.

close up of Halloween tag on 3d pumpkin

I love the cute little stem.  My daughter even commented on how real it looks.  Thank you for visiting my blog post today, I look forward to sharing with you and would love for you to share your projects with us!


Do what inspires you!
Cyndy G.

Wednesday, October 1, 2014

SVGcuts Lamp Challenge

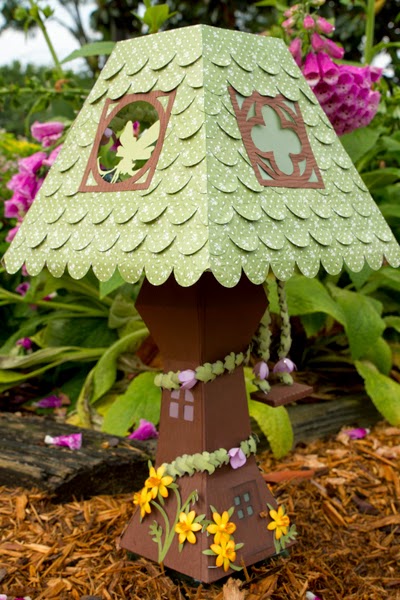
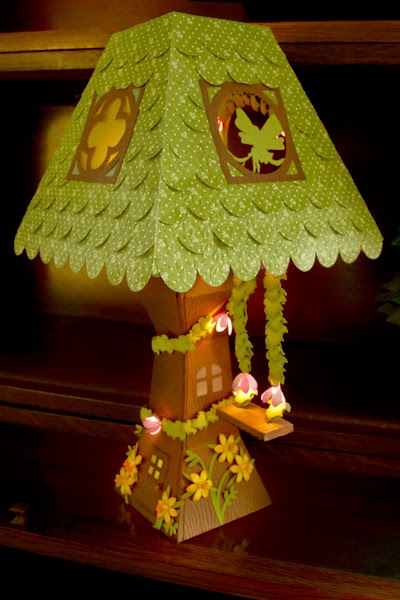
It is time again for another challenge.  This time we have to use the lamp file from Maison de Madeline Kit. I took a lot of time thinking about this one. We could use any other file from SVGcuts that we wanted to use, the shape of the the lamp could not be changed. The first sample I put together was an apple tree. The old kids hand game, say say old playmate, kept going through my head. One part of it says "climb up my apple tree". While I was working on my apple tree another contestant turned in a lamp that was a tree. Now, I know I have to push the envelope on this one.

I re-read the rules a hundred times but this one time the part about using a fairy file caught my eye. When I look at the files on the SVGcuts website I found the Woodland Fairies Collection and I feel in love with the little girl sitting on the branch.

3d paper lamp in garden setting

I spent a lot of time searching the internet looking at pictures of fairy houses. Then when I was shopping at Michael's looking for anything to use with my lamp I found fairy lights in the wedding section. Now I had everything I needed to make my lamp.

I made the lamp the largest size possible to fit on the 12x12 mat. See diagrams below for how I put the doors and windows in the lamp. I also made panels for the trunk of the tree so I could emboss them without weakening the base of the lamp. I added the fairy to the lamp shades front panel.

screen shot of how to cut lampscreen shot of how to cut lampScreen shot of how to cut lamp

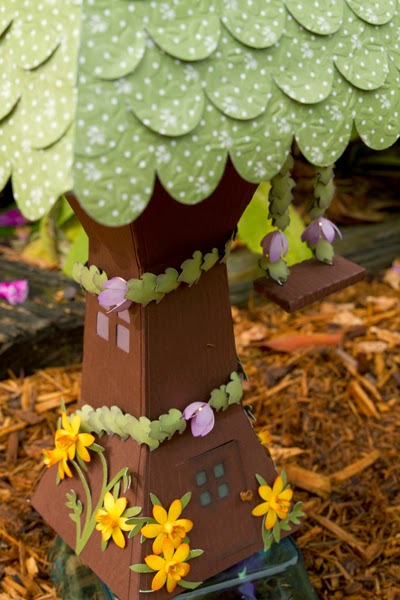
 I decided to put the battery pack for the lights inside the trunk of the tree.  So I waited to put the bottom on.  I put the pack inside the door and started the string of lights out the back corner of the base and wrapped it around the trunk.  Now the hard part.  It took me awhile to come up with how to use the lights inside the shade.  I also knew I wanted to have a swing that had flowers and leaves as the chains.  This image below is how I worked out the lights in the shade.
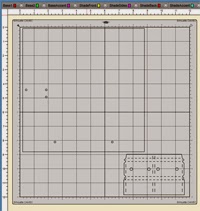
Screen shot of how to string lightsI used the tiny holes as guides and cut from the outer edge to the holes.  I took the lights up through the bottom right holes and around the arch in the back of the lamp, out through the hole on the bottom left, took the lights across the bottom of the shade (on the outside), up the next hole and right back out the one just above it, (here is where I made my swing).  I strung the lights through the board for the swing (then glued it together) and back up into the shade.  The string was just long enough (1/2 inch) to use in the bottom of the tiny lamp I made for inside the fairy lamp.

I used a bunch of leaves and flowers (I used the flowers over each light) to cover the fairy lights.  I used hot glue to put the leaves on.  I cut the flowers open from the outer edge to the center, cupped the light then glued the petals over each other to make the flower cover the light.

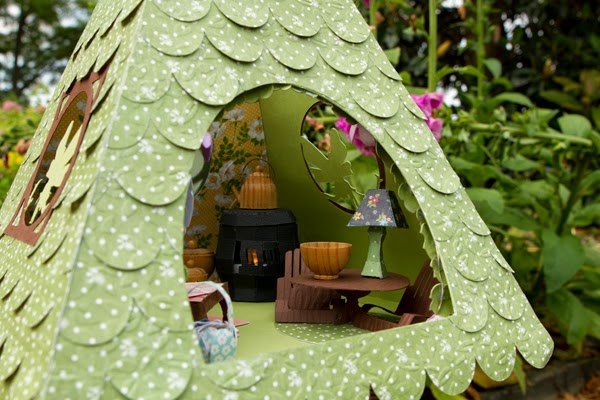
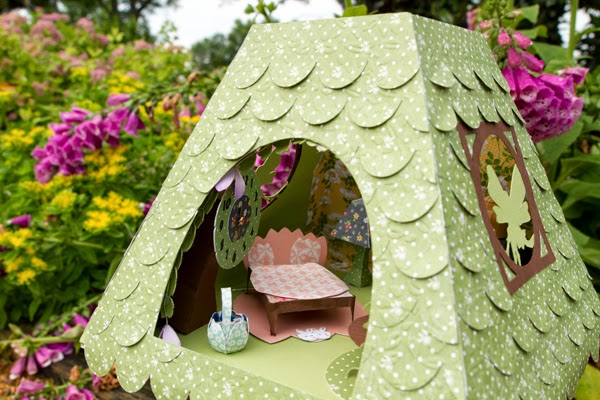
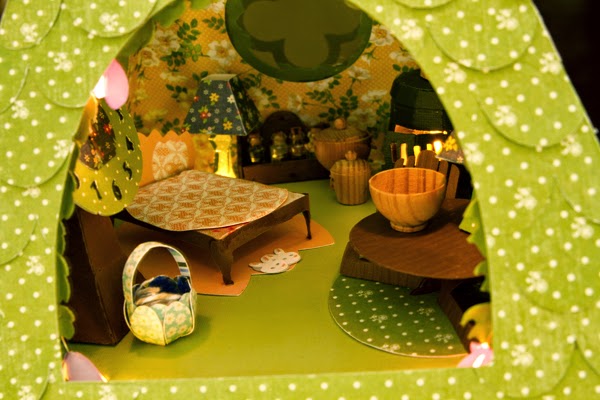
Then I made some furniture for my fairy house.  I used the desktop jar from Happy Trails for the potbellied stove and used a tea light to make it look like a fire in the stove, the pool table from The Green Room for the bed, the pedestal from Poplar Street Tulips as a table and the free Adirondack chair at the table and a mini lamp.
Close up of lamp in garden

Inside of lamp showing a small fairy house

View inside lamp showing fairy bed and clock

Close up of door and swing on lamp

Picture of lamp lit up

inside of lamp lit up showing a glowing pot belly stove

I won first price with this entry!  I have to admit, I got butterfly's when I was putting it together.  I knew I had made something special.  I still can't believe I won.  I don't know if that will ever sink in!  The price for first place is a Silhouette Cameo!  How great is it that Leo and Mary of SVGcuts have such wonderful giveaways.