Tuesday, January 20, 2015

Milestone Cake

I hope everyone enjoyed the Hop this past weekend!  We sure enjoyed hosting.  Congratulations to the winners.  I hope to see some of your projects on our facebook page.

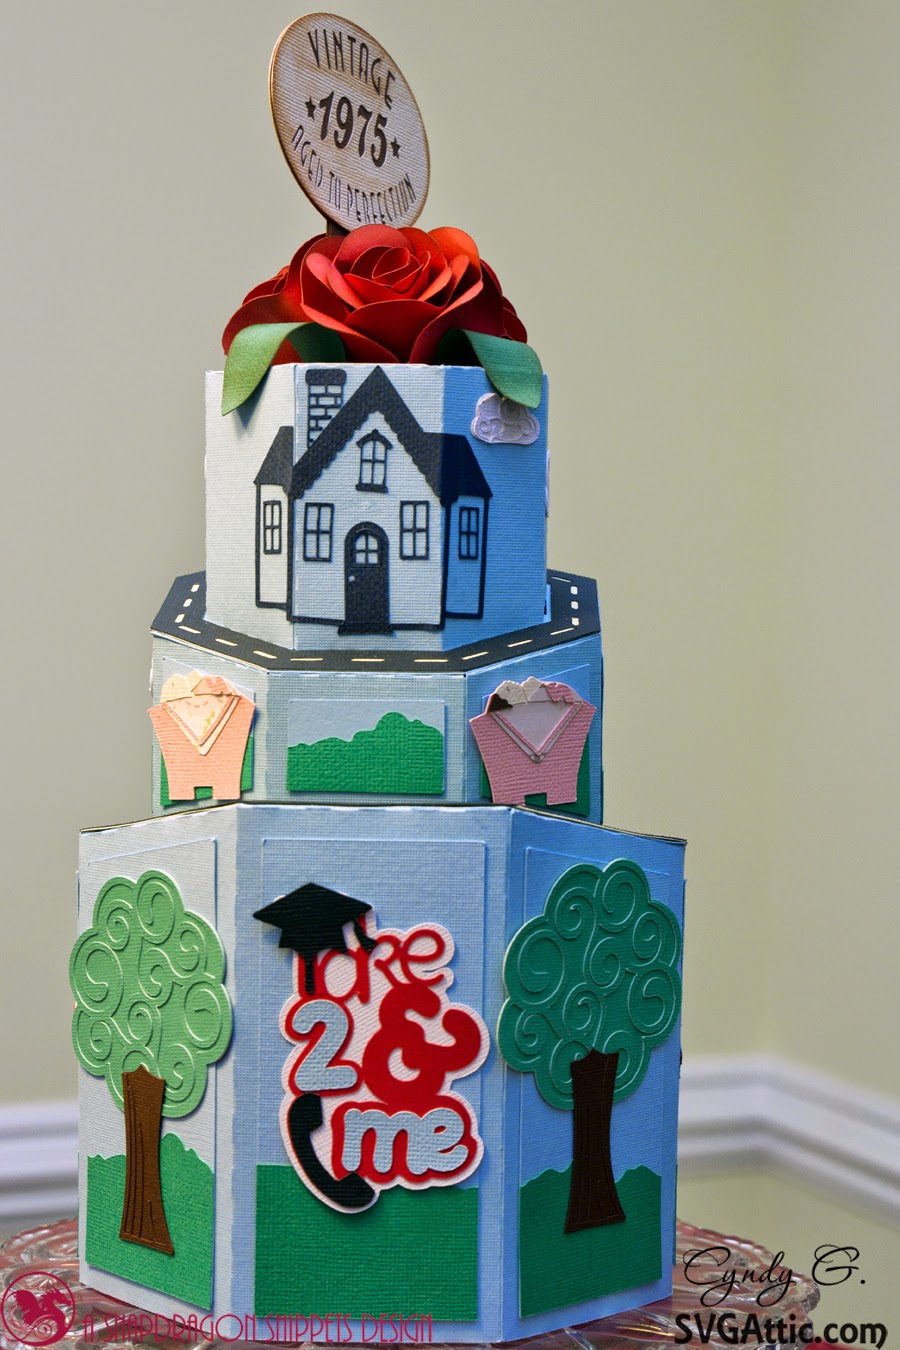
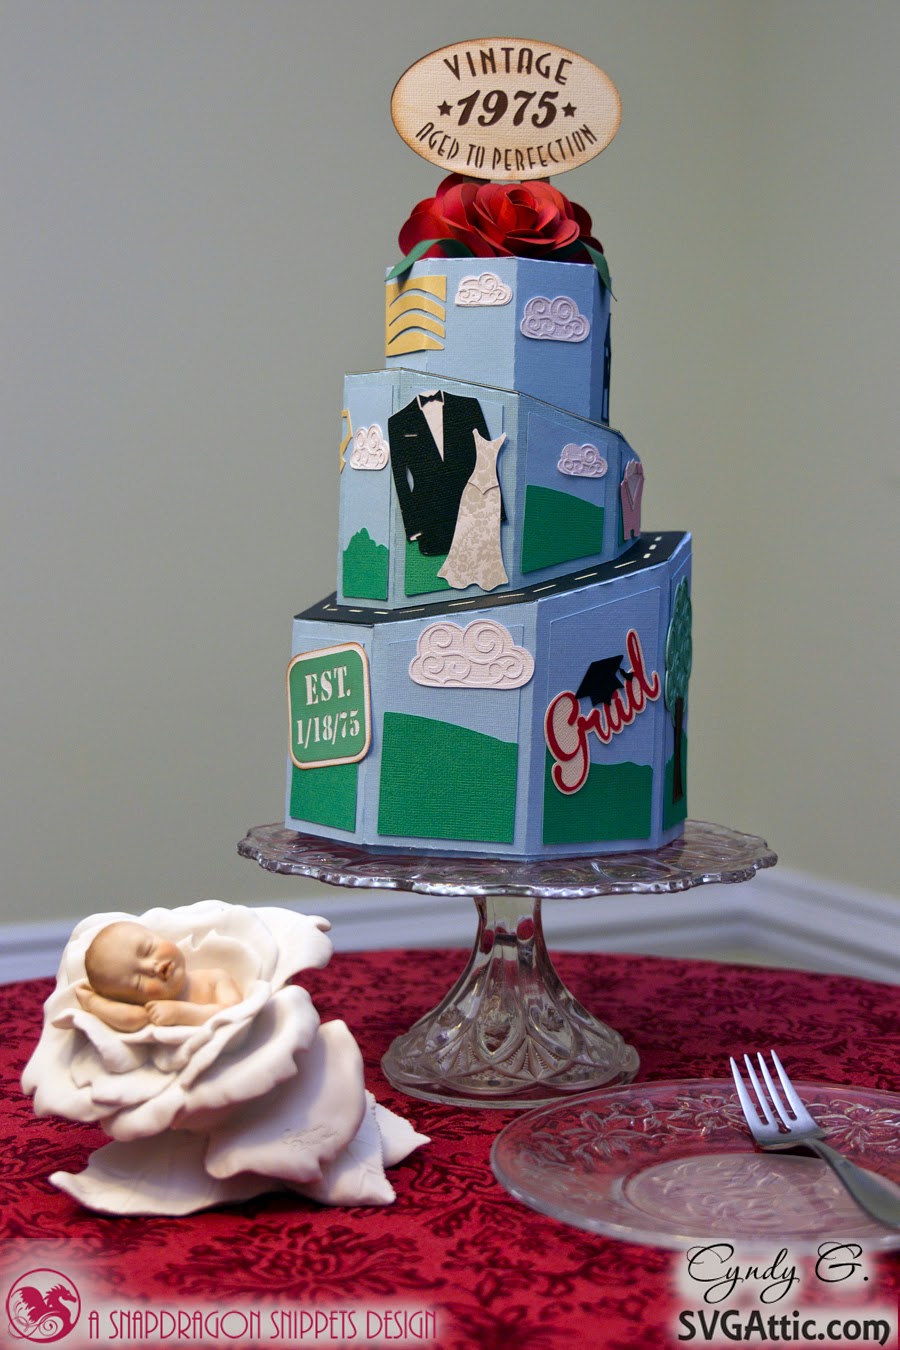
This weekend my sister celebrated a milestone, she turned 40.  I wanted to make her something special.  So I searched Google and came across a milestone cake.  I started thinking, I could do something like that, not baking it, out of paper.

I had fun deciding what to put on the cake.

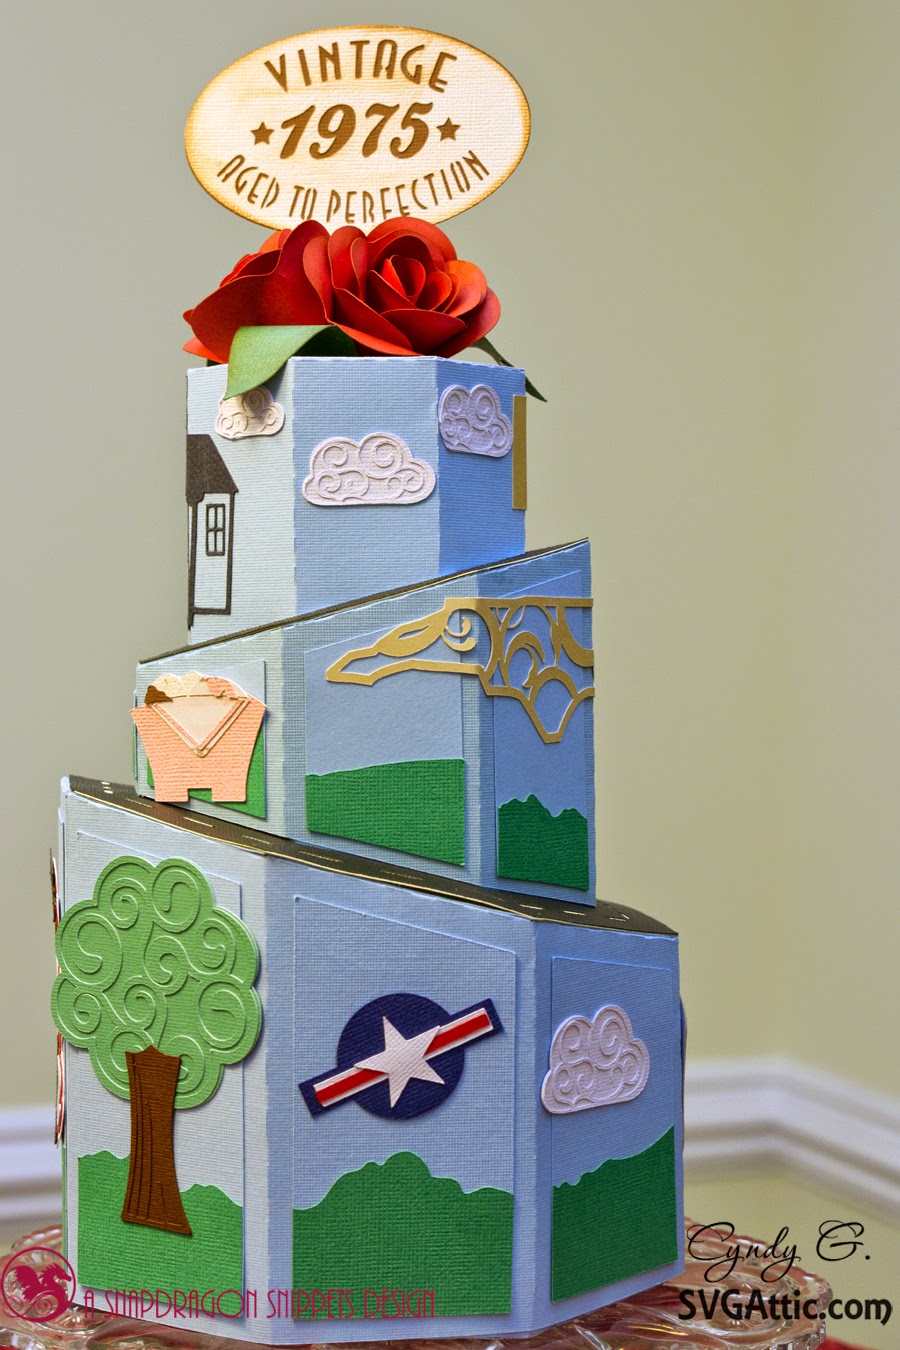
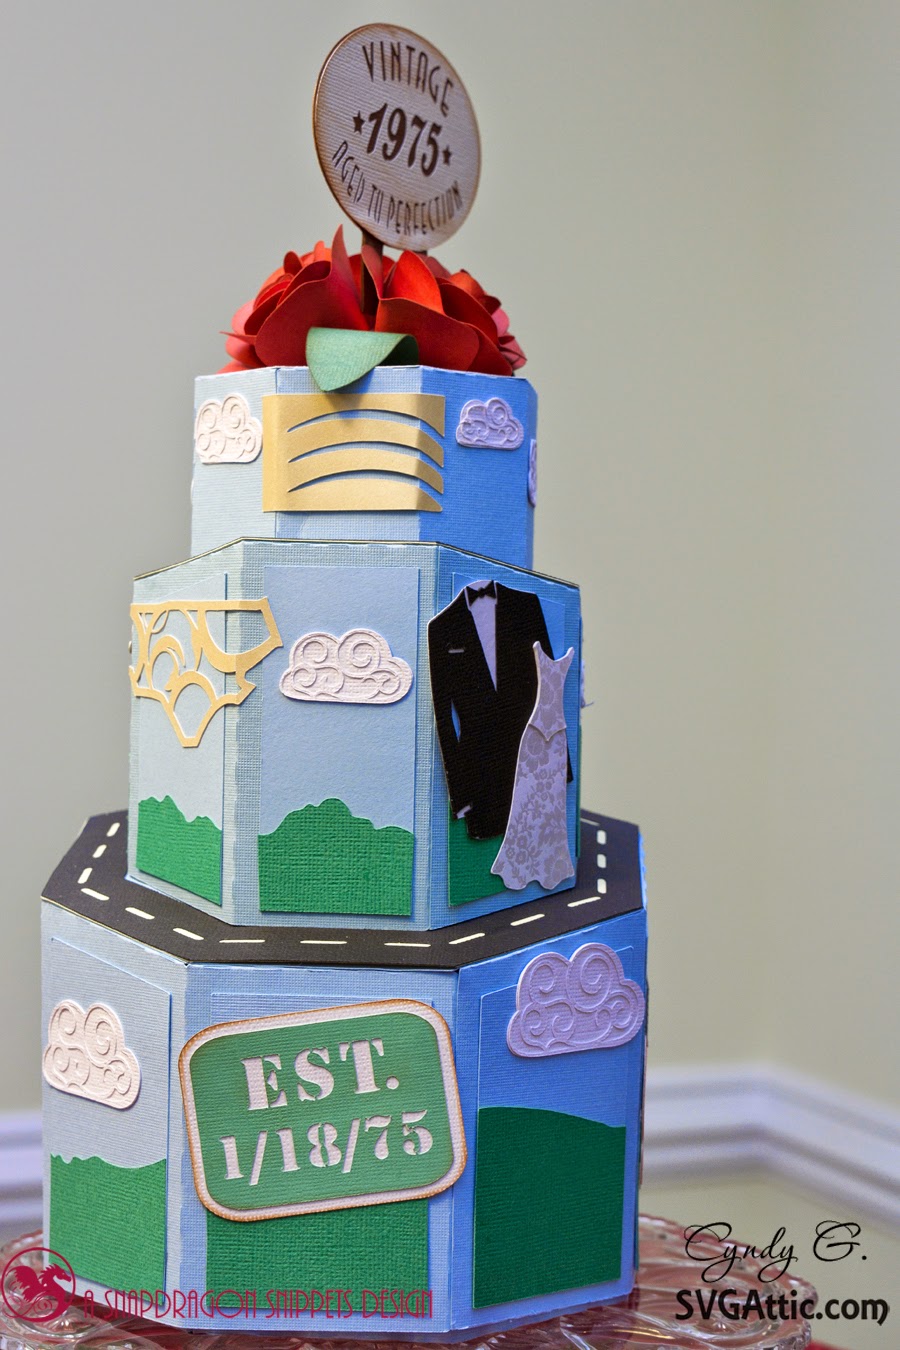
3d paper cake with life milestones i.e. born, wedding, children, etc.

Close of "Vintage sign" and beautiful red roses3d paper cake with life milestones i.e. born, wedding, children, etc.

3d paper cake with life milestones i.e. born, wedding, children, etc.3d paper cake with life milestones i.e. born, wedding, children, etc.

I am pleased with how it turned out.  I used the following kits to create this cake:

SDS 3D Cake Box Kit
Be Mine - Rose
Classic Wedding SVG Collection - Bride & Groom
SDS Flourished Spring - Trees & Clouds
JGW Nativity Boxes Holy Family - Baby
JGW House Rules - House

I also used two files that are legacy kits and are being reworked.  They will be back on the site once they have been updated.  Aged to perfection and Feel Better Soon.

I best thing about doing a project that takes several kits is that we are having a 25% off sale right now.  So you can stock up on some of the kits you have been wanting to get.

It has been fun sharing with you today.

Do What Inspires You,
Cyndy G


Saturday, January 17, 2015

Welcome to the SVG Attic-SnapDragon Snippets Forever & Always blog hop!  We are so excited to have you join us today!


At each stop of the hop we hope you will be inspired by the creativity of the design teams of SVG Attic and Snapdragon Snippets. You are sure to find many wonderful projects that will be at the top of your crafting lists!

You should be arriving from SVG Attic blog.  If you happened across this post out of order, please head to the SVG Attic blog to start at the beginning of the hop.


Here is the project I created for this hop:

I created a "Love Arrow" using the 3d Holly Tree from the SDS 3D Tree Trio, and the new JGW Vintage Valentine Kit.


3d paper cupid's arrow
Scene - Clouds with cupid card and 3d cupid's arrow

I used Crush by Authentique.  I love the color palette in this paper!  Pinks and blues are my favorite colors!

The tree was pretty simple to put together.  I made the "trunk" of the tree longer by welding two of them together.  I didn't glue the end of the arrow so treats could be put in this part of the box as well.  I thought it would be perfect for pencils.

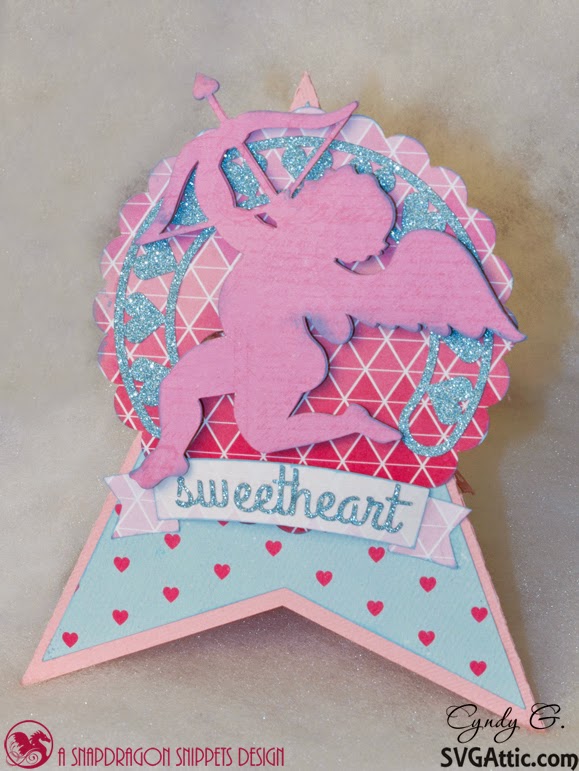
I made the Cupid Teepee Card from the JGW Vintage Valentine Kit as well.  I just love this card.  It is very striking.  This card will impress!


Cupid Valentine card

Now how about some blog hop prizes??

$15 Gift Certificate to SVG Attic

and
$15 Gift Certificate to SnapDragon Snippets

What do you need to do to be eligible for these amazing prizes?
1.  Become a follower of each blog in the hop, if you aren't already. 
2.  Leave some comment love at each stop.
3.  If you do both of the above, check back at the SVG Attic blog and/or the SnapDragon Snippets blog for the winners on Monday, January 19th!  You have all day today and tomorrow to hop. 

We would also love it if you would stop by the SVG Attic and SnapDragon Snippets' Facebook pages and give us a "Like"!

Here is the complete blog hop lineup:
Cyndy (you are here)
Angeline (go here next)
Beth 


I hope you have enjoyed this stop on our hop!  Be sure to head on over to the other stops for more love/Valentine’s Day inspiration, comment and become a follower to be eligible for the prizes!

Cyndy G

Tuesday, January 6, 2015

Charting Their Growth!

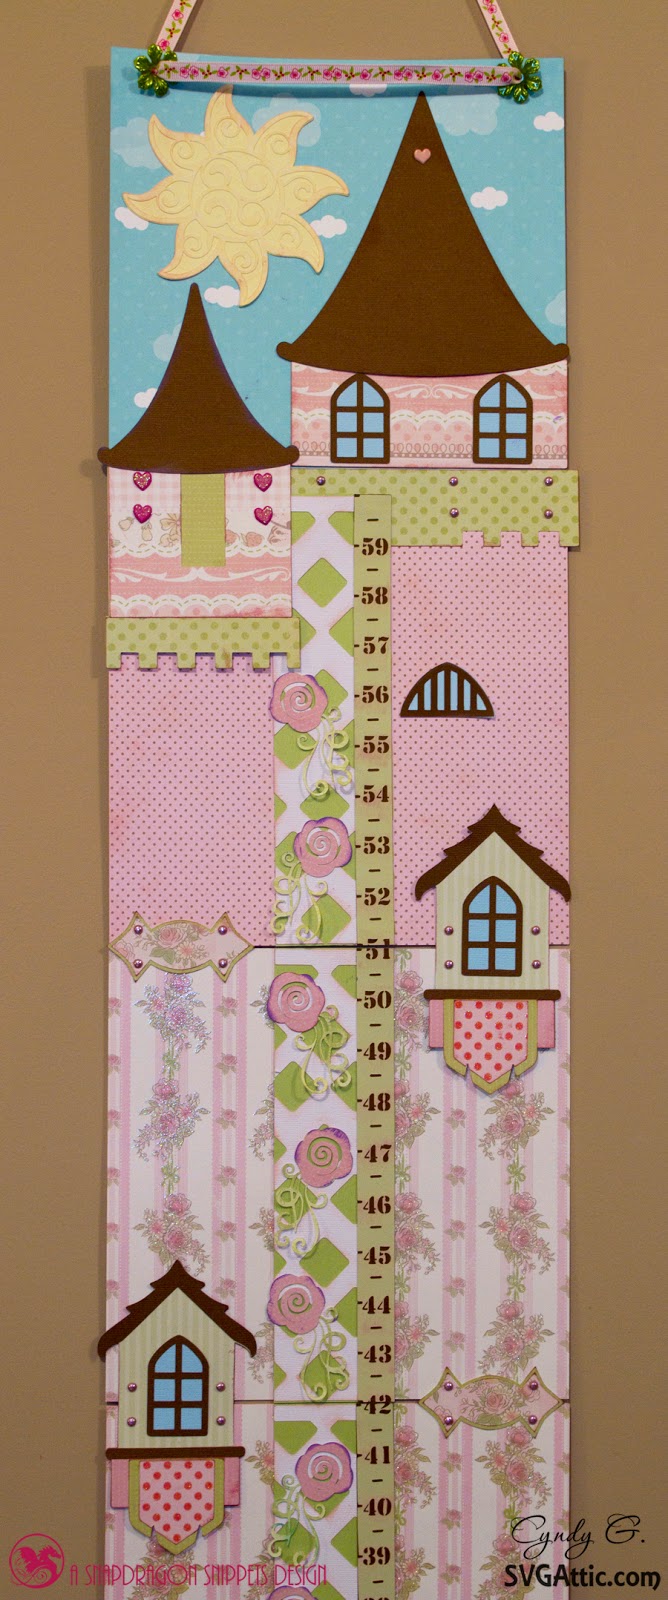
Today I have a growth chart I created using the Halloween Countdown Tower.  The first time I saw this I thought about one of those growth charts you tape to your wall to mark the height of your children.

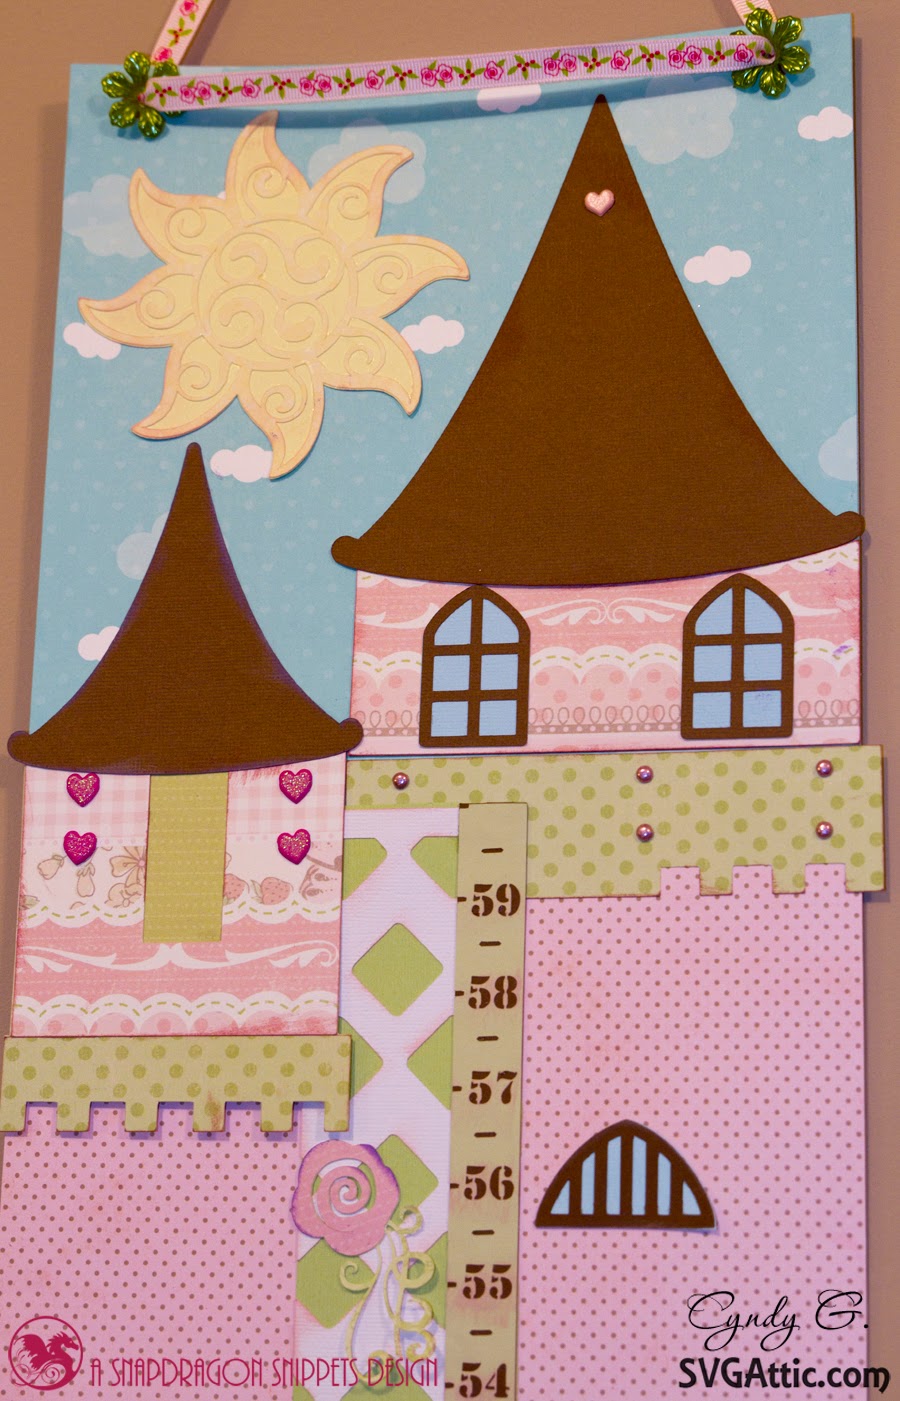
A child's growth chart for a girl.  Princess castle with rose vine ruler.

Since I made this for my daughter I used pinks but you could adjust this for boys by using blues or greens.

close of rose vine ruler

I made a lattice using the diamond from the shapes library in SCAL.  I made the ruler out of a long rectangle and Stencil font.  I used the dash as my mark on the ruler.  To make the inch mark I positioned the dash off the rectangle to create a "notch" when cut out and the 1/2" marks are centered.  I layed this out on the mat in the software and used the grid as my measurement guides.

I used the SDS Flourished Spring kit for the sun and flowers.

close up of tower on castle

As the marker I used the princess hat from princess accessories.  The great thing about this growth chart is that since it is done in sections you can take it apart and use the pieces on a scrapbook page with your child's picture.  What a wonderful keepsake to add to your child's album!  Since I plan on using the sections on scrapbook pages with my daughter's picture I adhered the princess hat with pop dots.  I made several markers to use over time.

another view of the rose vine ruler showing princess hat as the height marker

Since most growth charts go up to 60" I decided to add an additional section to my chart.  This allowed me to make the tape measure go up to 60".  This was a  lot of fun to create.  I can't wait to start using it!

Scene - princess growth chart next to a white child's tea table

Thank you for visiting, I hope you enjoyed my project.  If you make one or any other project from SVG Attic I would love to see pictures of it on our facebook page.

Kits used:

JGW Halloween Countdown Tower
SDS Flourished Spring
SDS Princess Accessories

Happy New Year!

Do what inspires you,

Cyndy G